How host a rustlang server for free in the google cloud plataform?
finding one of the cheapest and easiest ways of host your rust server
In the Rust language journey, after learning the basics and being able to create a server, the second thought comes to mind... how do I do it available for the internet, how should I configure my server for the internet and what is the cheapest way to do it, if possible for free?
In the Rust language journey, after learning the basics and being able to create a server, the second thought comes to mind... how do I do it available for the internet, how should I configure my server for the internet and what is the cheapest way to do it, if possible for free?
In the end of this blog post you should have your first and free rust server running on internet.
Here we will answer you that, using the google cloud platform and the cloudrun service. A little explanation about GCP for the newcomers:
GCP uses the model of account base, and not project base like AWS, so if you have a gmail account should be very easy to create a GCP account (you might already have)
Your account on google should be already enough.
Lets create a very simple server in Rust
cargo new project
cd project/
cargo run
That should bring a hello world message.
Now lets create a very simple axum server who simple return a hello world in the port 8080
for that run
cargo add axum
cargo add tokio -F full
The goal is showing how you post your container in the GCP for free, so I will not create a fancy server here
In the project/src/main.rs
use std::env;

use axum::{routing::get, Router};

#[tokio::main]
async fn main() {
    let host = env::var("SERVER_HOST").unwrap_or("127.0.0.1".to_string());
    let port = env::var("SERVER_PORT").unwrap_or("3000".to_string());

    let app = Router::new().route("/", get(root));
    let listener = tokio::net::TcpListener::bind(format!("{host}:{port}"))
        .await
        .unwrap();
    axum::serve(listener, app).await.unwrap();
}

// basic handler that responds with a static string
async fn root() -> &'static str {
    "Hello, World!"
}
That is a very simple example, I will enter in details of how create proper servers with axum in another blog post, if you have any prior experience with any other programming language, you are able to understand what we are doing here.
Then after having our service we need to conteinerize him, we use Docker for do this:
Create a Dockerfile in /project (that is the root, DO NOT DO inside /src folder)
touch Dockerfile
On the file copy and paste this content:
FROM rust:slim-buster as build

# create a new empty shell project
WORKDIR /app

# copy over your manifests
COPY ./Cargo.lock ./Cargo.lock
COPY ./Cargo.toml ./Cargo.toml
COPY ./src ./src


RUN cargo build --release

# # our final base
FROM debian:stable-slim
ENV SERVER_HOST=0.0.0.0
ENV SERVER_PORT=8080
WORKDIR /app

EXPOSE 8080
COPY --from=build /app/target/release/ .
CMD ["./project"]
docker build --platform linux/amd64 -t project .
docker tag project:latest <yourdockerhubaccount>/project:0.0.1
docker push <yourdockerhubaccount>/project:0.0.1
note I add --plataform linux/amd64 the reason is because I am in a Macbook, by default mac build for linux/arm64, that wont work in the cloudrun.
now we need to tag and push to some registry, lets use Dockerhub itself, because google now is able to pull from there
With docker and the server ready in our side, we are ready to publish to cloud run
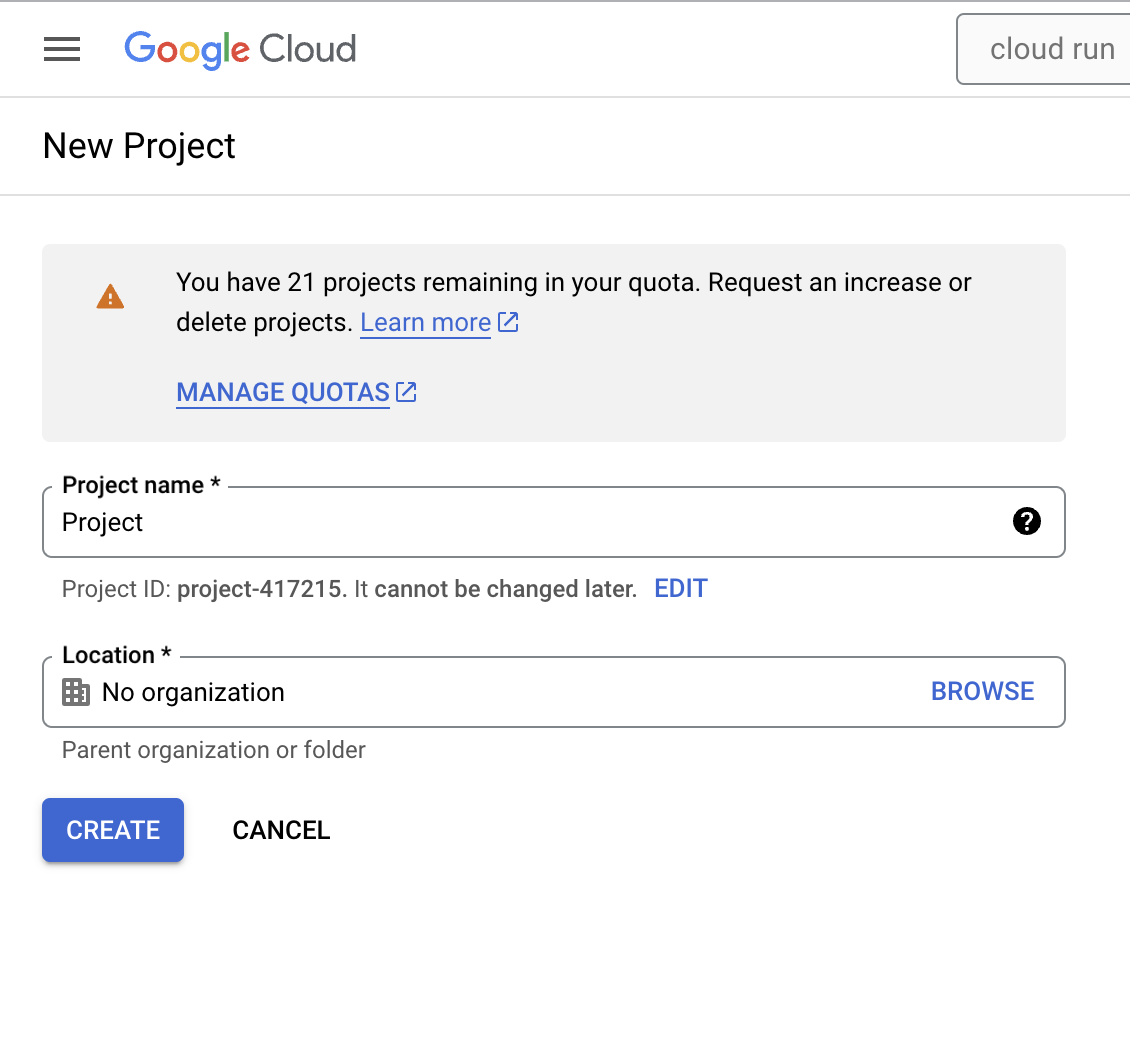
If is your first time using GCP, he will ask to you to create a new project, if you already have used, you need to click in your project and create a new one.
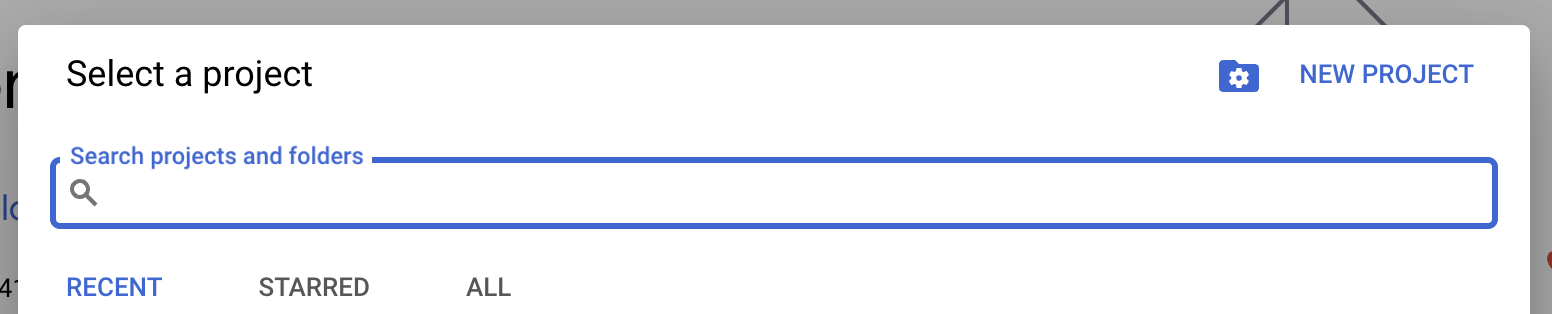
Lets create a project called "Project"
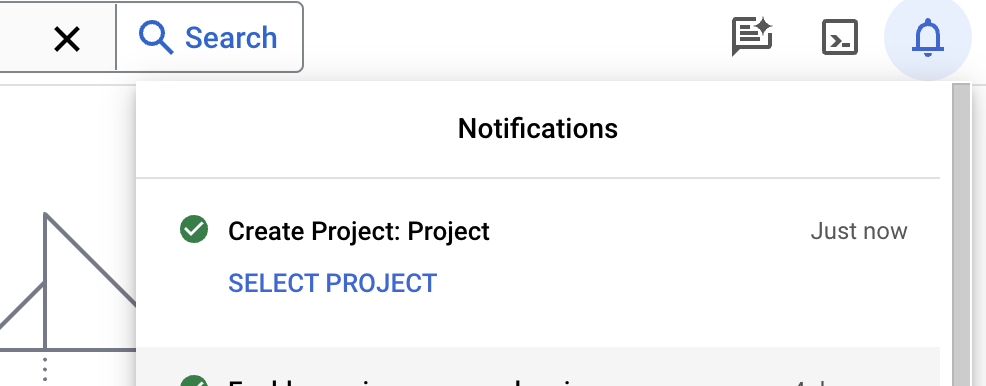
After finished click in SELECT PROJECT
Type Cloud run in the search bar and select the first one:

Then click in create service in the header (check that, we have here a "manage custom domains", if you want to add a DNS simple click here later)

add your registry in the container image
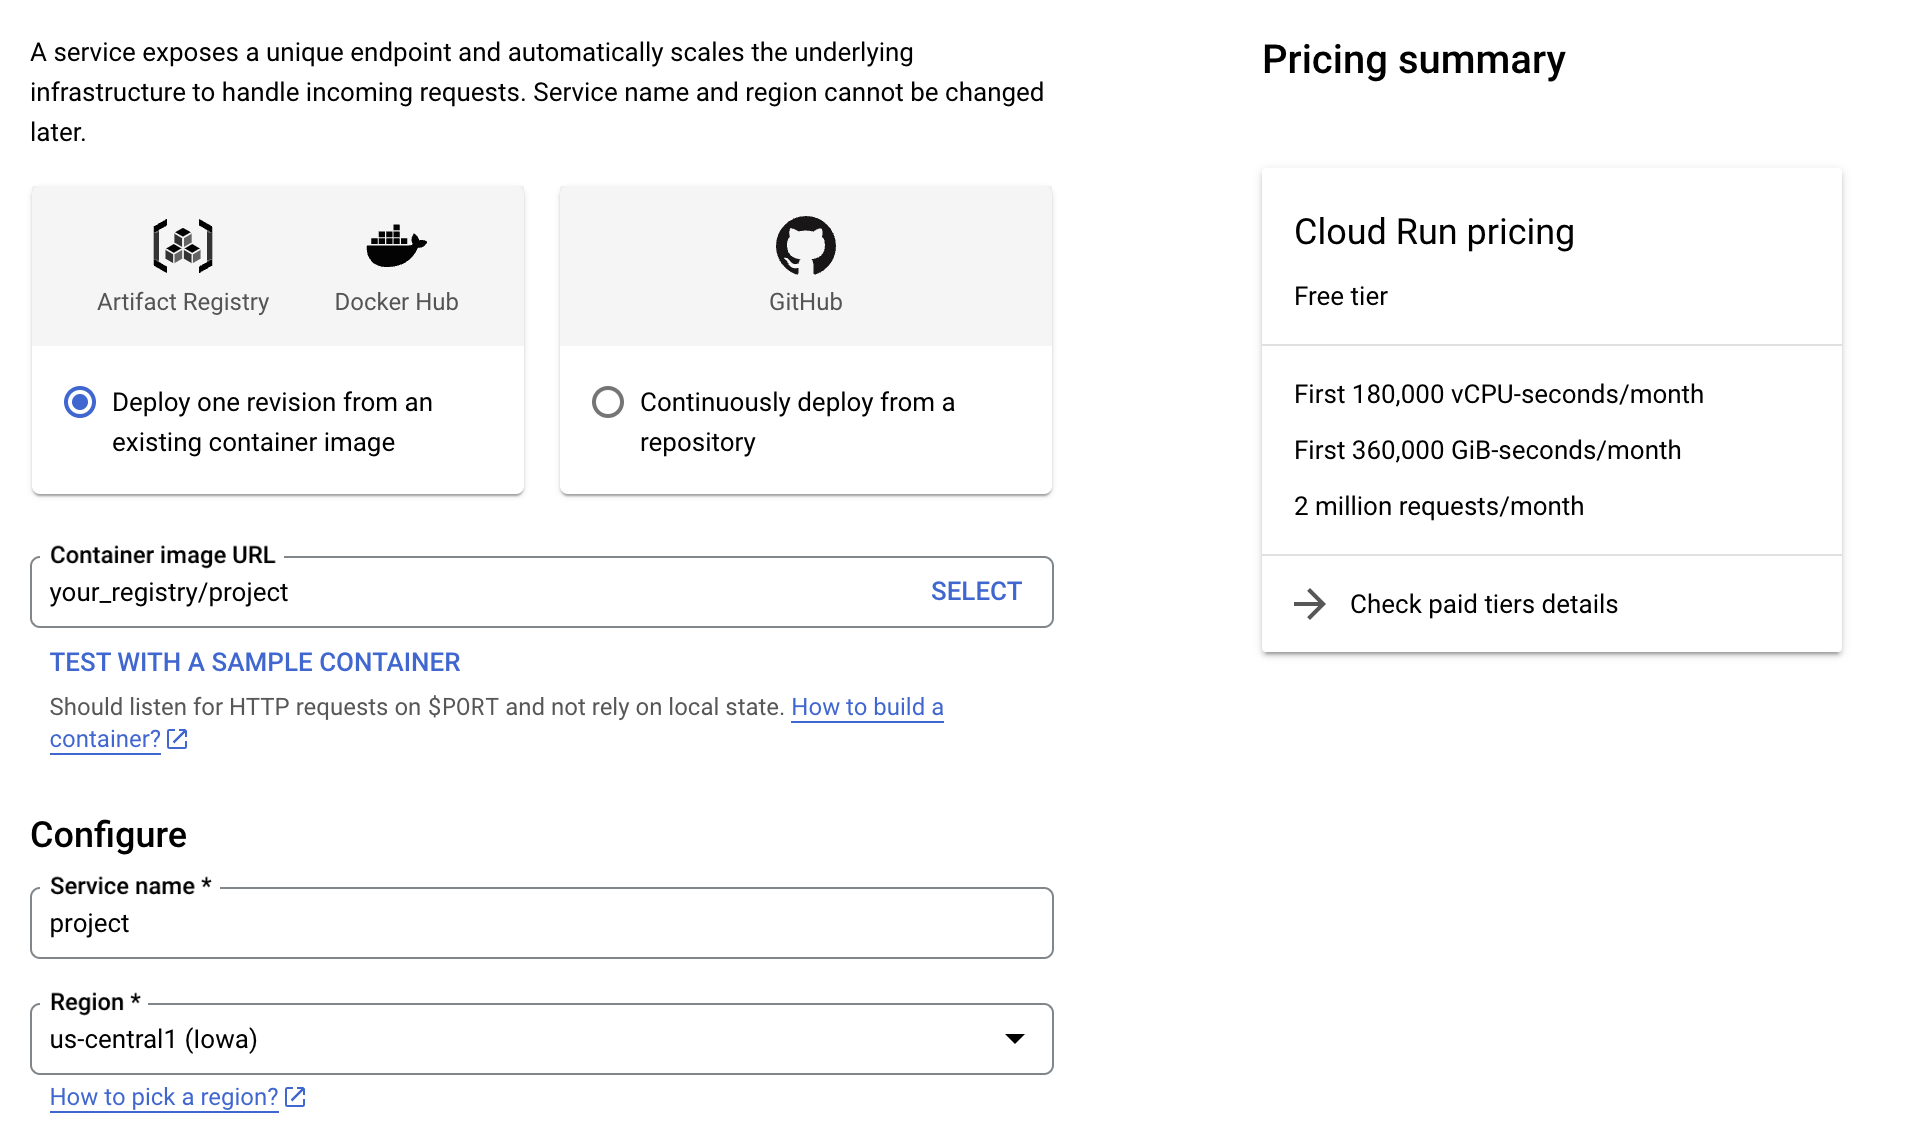
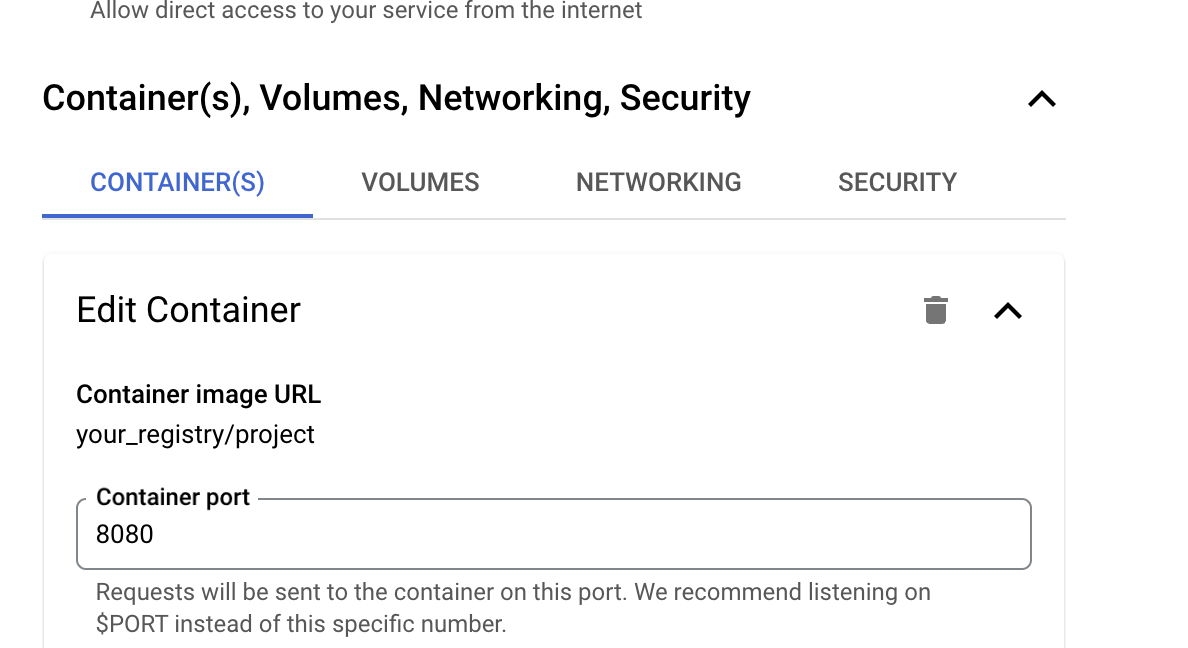
Scroll down and click in Container(s), Volumes, Networking, Security
There just check if the port is correct, that will be the port that GCP will proxy from (default is 8080)
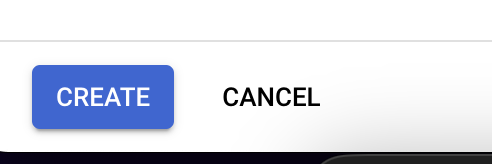
Then just click in Create and wait the magic happen.
When finish GCP will generate a DNS to you, and then you can access your server from any internet connection on the world.
Now if you want to add a custom DNS, just click in mapping domain, I will not show this part, but if you want to me create another post showing, please give me a thumbs up, and give me a comment, you can send me a message in my social networks if you need help.
In the next step we will connect with our github repo, this way every time we merge the changes on main branch GCP will update our container.